
Empower your Web Apps with Firebase
How to Integrate a Realtime Database with JavaScript and Firebase


Welcome to this guide on mastering real-time databases with JavaScript and Firebase. In today's digital landscape, real-time updates and seamless user experiences are vital for any developer. Imagine creating applications where changes from one user or device are instantly shared among other users or devices. That's the power of a real-time database.
Whether you're a front-end developer crafting engaging user interfaces or a full-stack developer, integrating JavaScript with Firebase's real-time database capabilities opens doors to endless possibilities.
I will guide you from setting up your Firebase project to real-time data management. By the end, you'll wield the basic skills to build responsive, data-driven web apps. Let's dive in and embark on this exciting journey together!
Shall we dive in? 🏄🏽♂️
What we'll be building 🏆
We'll be creating a straightforward application that enables you to record your daily accomplishments 🎉 as a front-end developer. It includes a basic input field for entering your daily wins and a button to add these achievements to a list, which is then displayed in the user interface.
Starter code
Explore the starter code and experiment with the application. Attempt to add a few achievements in the input field and use the "Add to list" button. To ensure full comprehension, review each line of code meticulously. Alternatively, you can simply copy and paste it into ChatGPT and request a detailed breakdown.
What is Firebase 🔥
Firebase is an app development platform that helps you build and grow apps and games users love. Backed by Google and trusted by millions of businesses around the world.
Firebase provides a real-time database that can allow users to save data to Firebase which can then be accessed from anywhere in the world via any browser or device. It is real-time because if you make a change to the database via a browser, other browsers or devices connected to it will receive that change.
And the good news...Firebase is free and very easy to use.
By the end, you'll have a solid understanding of Firebase's capabilities, empowering you to create real-time applications.
Creating your Database
Click this link to take you to the Firebase Console.
Once you are signed in, click on the "Create a Project" button
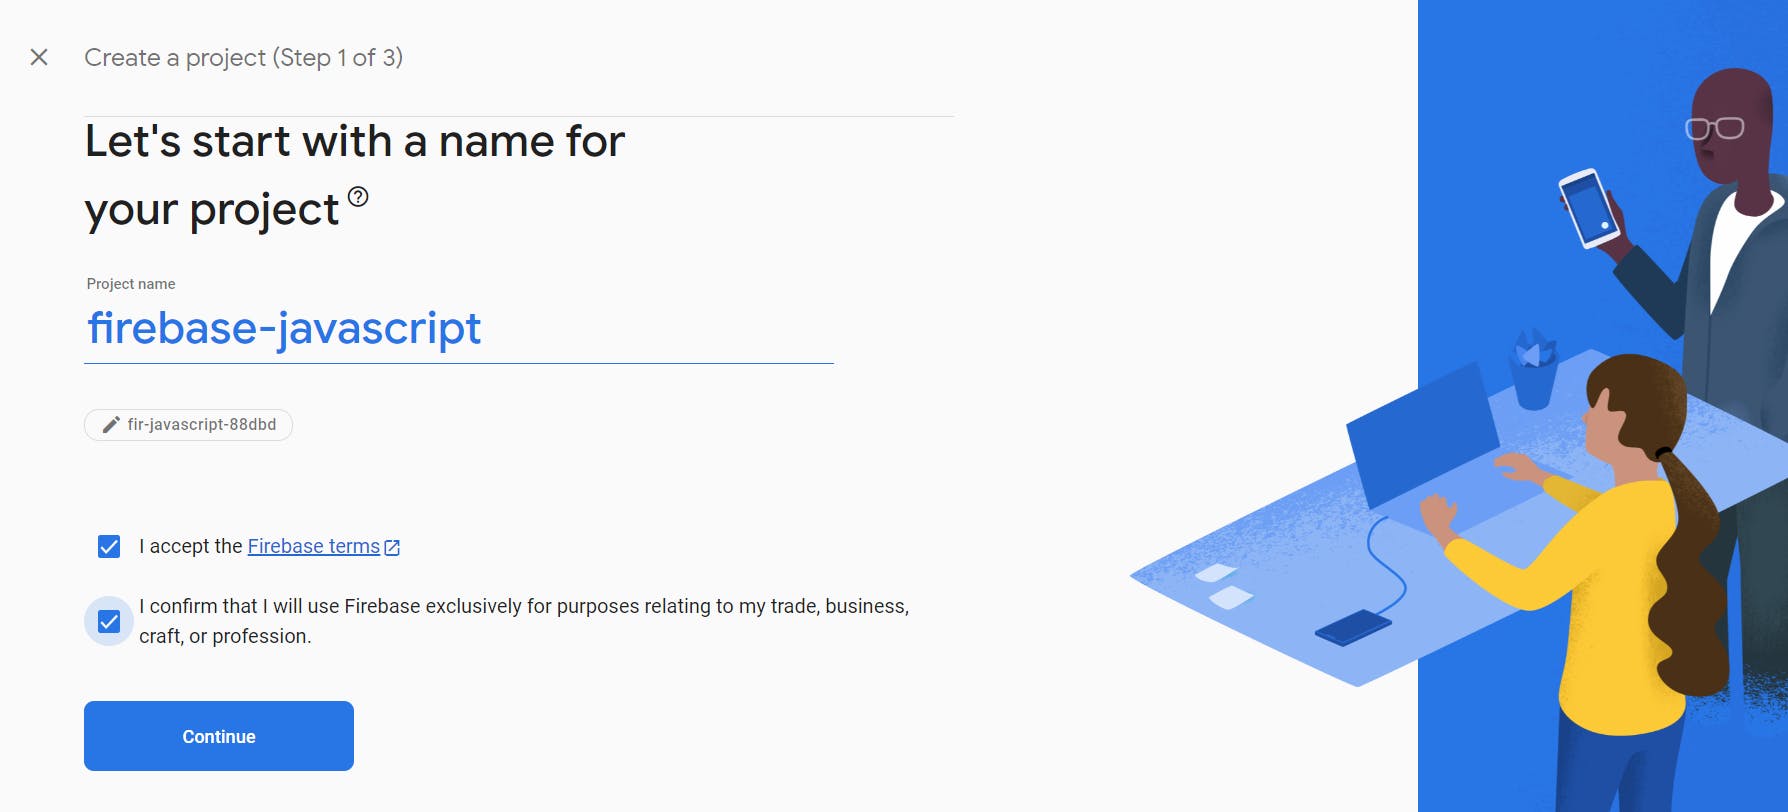
After clicking the button, you'll be redirected to this page where you can customize your project's name. Feel free to choose any name you prefer, check the desired checkboxes, and then click on "Continue."
On the next screen, disable the Google Analytics option and then click the "Create Project" button.

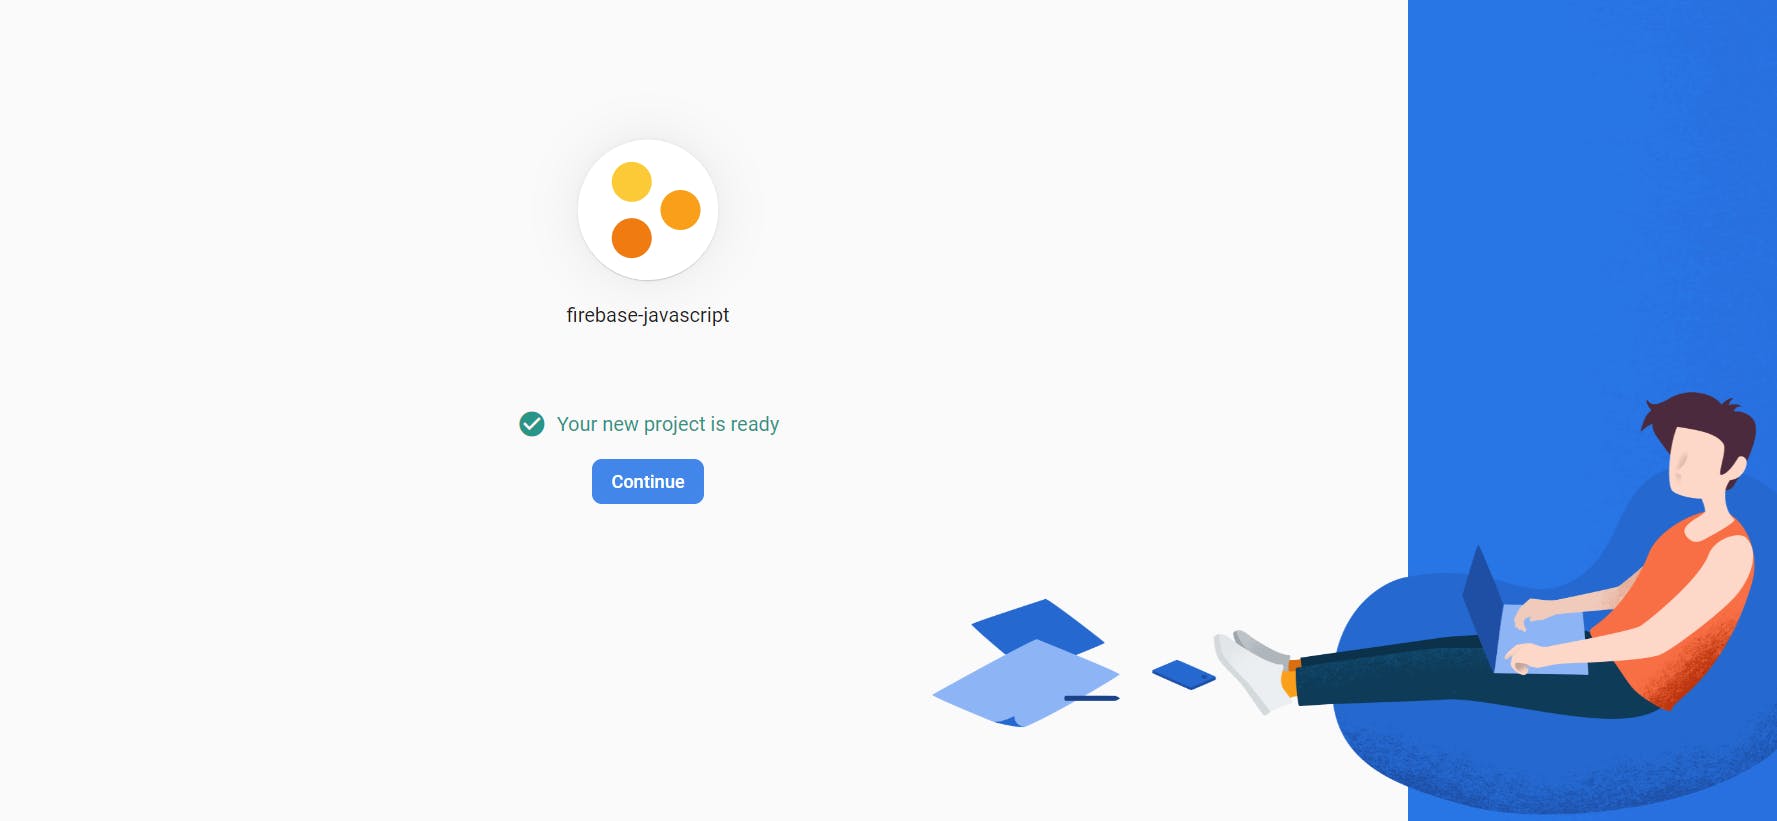
Wait for your project to finish creating, and once it's completed, click the "Continue" button.
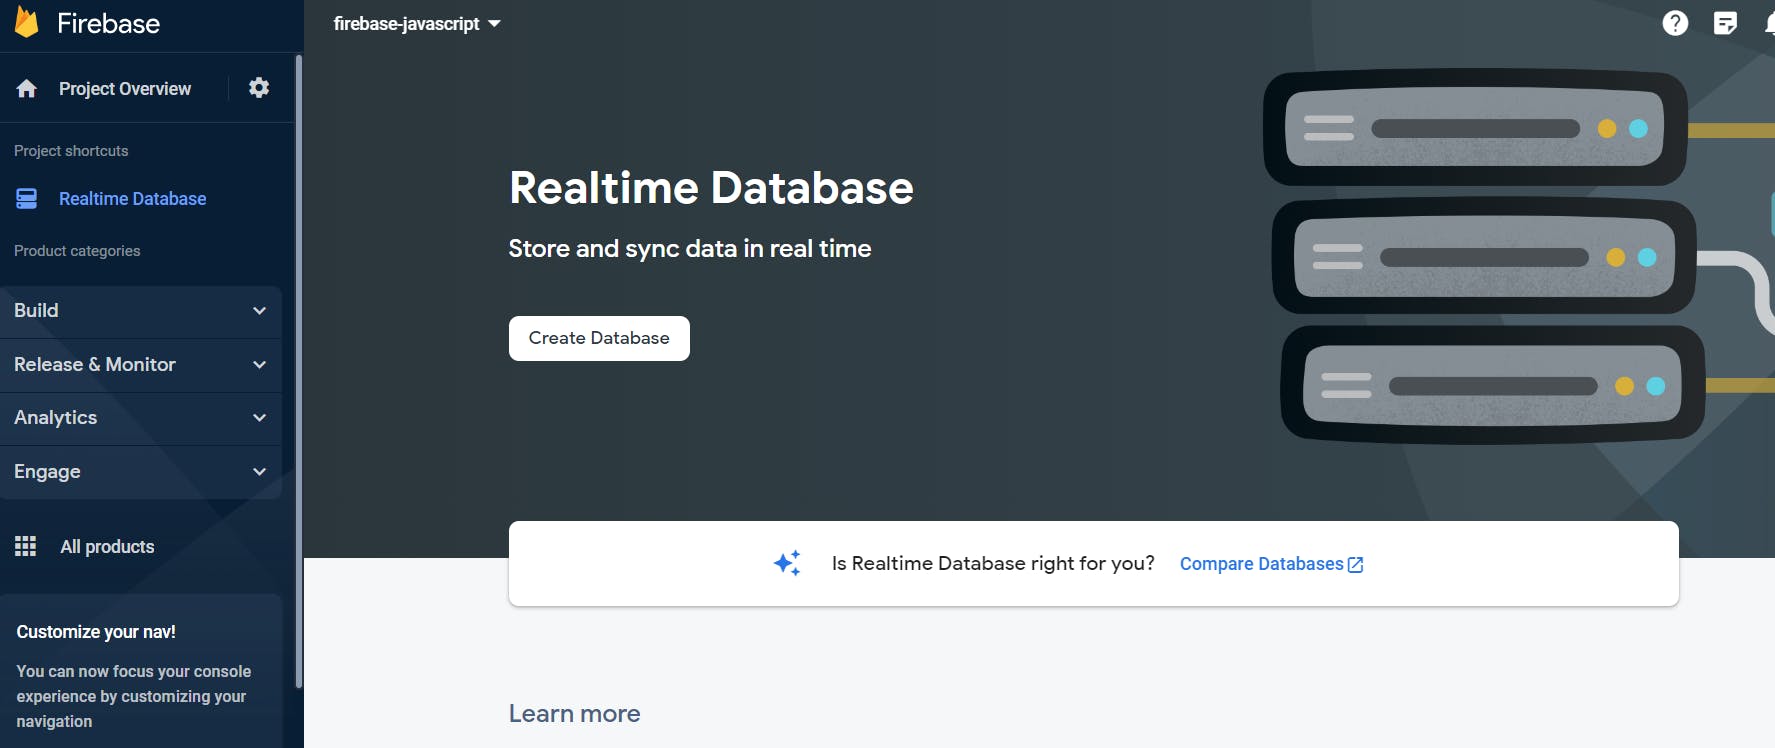
Next, you'll arrive at your project page, offering options for adding Authentication, extensions, and hosting. However, our focus for now is on the Realtime Database feature. To proceed, navigate to the side menu, select "Realtime Database," and then click the "Create Database" button.

Continue by choosing the location where you prefer your data to be stored. It's advisable to select a location that's geographically close to you, as the physical distance between the database and your application can influence the performance of the application.

Lastly, set up your security rules by choosing "Start in test mode." This setting permits anyone with your database reference to read from or write to your database. Keep in mind that you can adjust these rules later as needed.

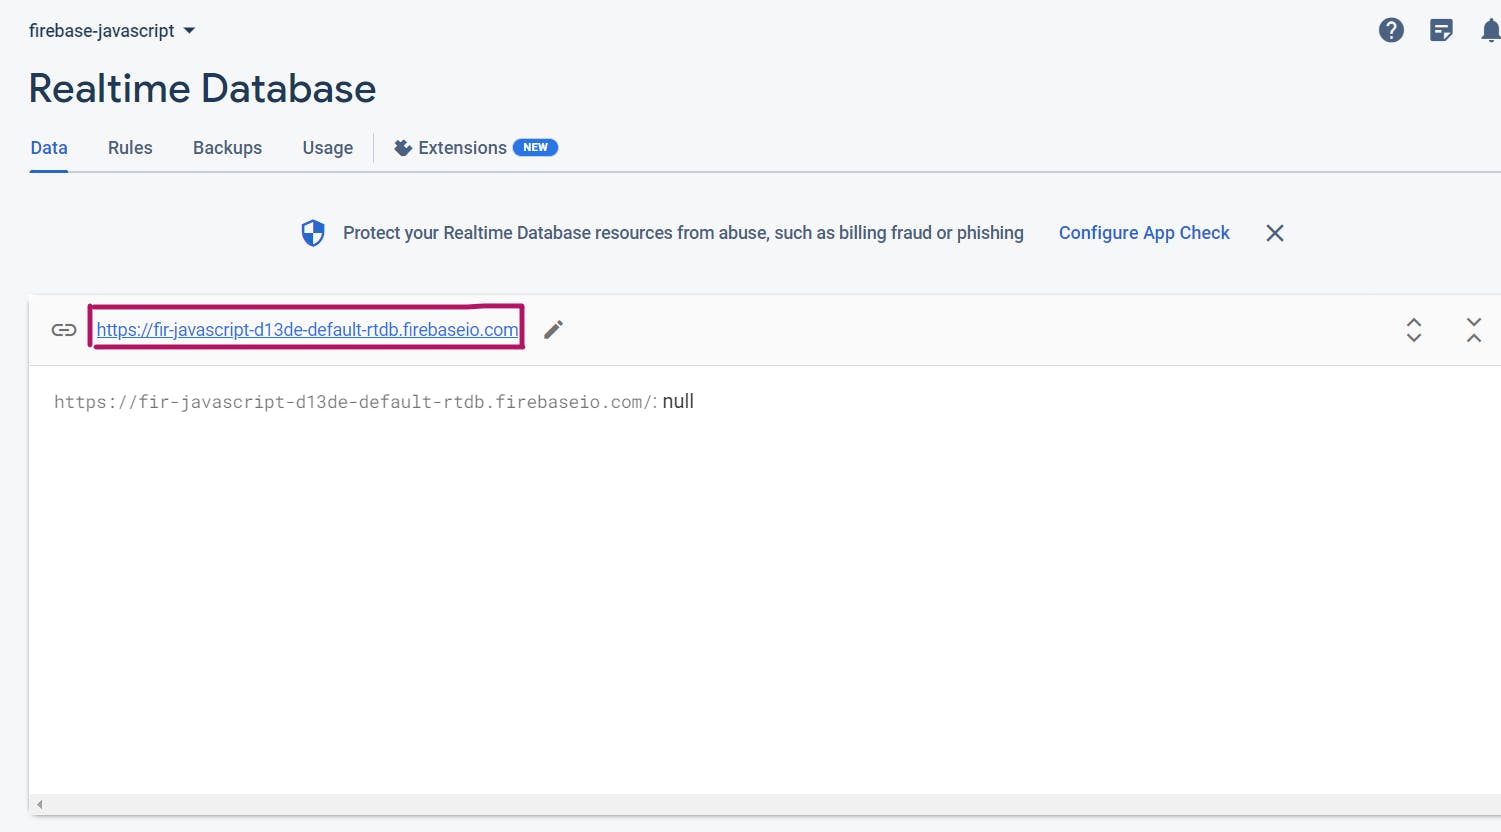
And there you have it – your real-time database is now created. Before we dive into coding, make sure to copy the URL of your database. Remember that your URL will be distinct due to your chosen location and unique reference. Please refrain from closing this tab after copying your database URL.
Note: Do not use the URL shown in the image below; utilize your own unique URL.

You have successfully set up your database in Firebase. Let the coding begin. 🎉
Writing our code
Step 1: Configuration and Initialization
Create an object named appSettings to store the URL you copied from Step 9 above. This object defines the configuration needed for the upcoming step - initialization.
const appSettings = {
    databaseURL: "YOUR_COPIED_URL_HERE" // Replace with your unique database URL
}
Step 2: Initializing Firebase
To initialize our app, we must import the initializeApp function as a named import from the following URL: "gstatic.com/firebasejs/9.15.0/firebase-app.js"
import {initializeApp} from "https://www.gstatic.com/firebasejs/9.15.0/firebase-app.js"

// Defining the configuration
const appSettings = {
    databaseURL: "YOUR_COPIED_URL_HERE" // Replace with your unique database URL
}
The
initializeAppfunction in Firebase enables you to create and initiate an instance of a Firebase app, serving as the gateway to all Firebase functionalities.
Now, initialize the app by calling the initializeApp function and pass the configuration object as the argument. Store the result of this expression in a variable named app.
import {initializeApp} from "https://www.gstatic.com/firebasejs/9.15.0/firebase-app.js"

// Defining the configuration
const appSettings = {
    databaseURL: "YOUR_COPIED_URL_HERE" // Replace with your unique database URL
}
// Initializing the app
const app = initializeApp(appSettings)
Take a breather!
Step 3: Connecting to the database
So far, we've just created an instance of a Firebase app. Now, let's connect our app to the real-time database provided by Firebase.
To do this, import another function called getDatabase from a different URL: "gstatic.com/firebasejs/9.15.0/firebase-data..". After importing, call the function and pass the app variable as an argument, then store the result inside a variable called database.
import {initializeApp} from "https://www.gstatic.com/firebasejs/9.15.0/firebase-app.js"
import {getDatabase} from "https://www.gstatic.com/firebasejs/9.15.0/firebase-database.js"
const appSettings = {
    databaseURL: "YOUR_COPIED_URL_HERE" // Replace with your unique database URL
}

const app = initializeApp(appSettings)
// Connecting to the database
const database = getDatabase(app)
Great! You've successfully connected to the real-time database provided by Firebase. You're ready to start working with your database and building your application. If you have any more questions or need further assistance, feel free to ask in the comments section below before proceeding!
Step 4: Create a reference in your database
We must establish a reference within our database. A reference acts as a direct link to a precise location within your database structure. To illustrate, envision a vast library, with various sections, each section is dedicated to specific categories of books such as fiction, non-fiction, and biographies. In this analogy, each of these sections serves as a reference within the library.
Think of our database as a library, and within it, we want to establish a reference to house all our daily front-end achievements. In Firebase, you create a reference using the ref() function, which takes two arguments.
import {initializeApp} from "https://www.gstatic.com/firebasejs/9.15.0/firebase-app.js"
import {getDatabase, ref} from "https://www.gstatic.com/firebasejs/9.15.0/firebase-database.js"
const appSettings = {
    databaseURL: "YOUR_COPIED_URL_HERE" // Replace with your unique database URL
}

const app = initializeApp(appSettings)
const database = getDatabase(app)
// Creating a reference in our database
const achievementsInDb = ref(database, "achievements")
The first argument specifies the database instance we've previously created, while the second argument determines the unique identifier or name for this reference within our database. This flexibility allows you to create multiple references within your database, helping you organize and interact with various data locations effectively.
ref() function from the URL above in your codeStep 5: Selecting DOM elements
Now that we have fully set up our database with our app, we need to select the DOM elements with JavaScript and make them interactive.
// Select the <input /> element to capture the input values
// Select the <button /> element to allow us do something when it is clicked
// Select the <ul /> element to allow us render the achievements in the UI
const inputElement = document.getElementById('input-field');
const addButton = document.getElementById('add-button');
const achievementsList = document.getElementById('achievements-list');
Good job. 🎉 When you are ready, let's move on to the next step.
Step 6: Push Data to the Realtime Database
As you review the starter code, you'll notice that currently, our app only displays the achievement on the screen when you input it and click the button. However, we want to extend its functionality by storing this achievement to the Firebase Realtime Database. We can achieve this by using the push() function.
The
push()function lets you add to a list of data in your database.
Pause for a moment and consider how we intend to incorporate this logic into our code. Below, I've outlined the solution; take some time to contemplate it before referring to the hints.
Hint #1
Hint #2
Hint #3
push() function from Firebase to send the input value to the Firebase Realtime Database. The push() function takes two arguments: the first specifies the reference in the database where you want to save the data, and the second argument is the actual data you want to push.I hope you've grasped the thought process up to this point. Now, let's put it into action by implementing these hints in real code.
import {initializeApp} from "https://www.gstatic.com/firebasejs/9.15.0/firebase-app.js"
import {getDatabase, ref, push} from "https://www.gstatic.com/firebasejs/9.15.0/firebase-database.js"
const appSettings = {
    databaseURL: "YOUR_COPIED_URL_HERE" // Replace with your unique database URL
}

const app = initializeApp(appSettings);
const database = getDatabase(app);
const achievementsRef = ref(database, "achievements");

const inputElement = document.getElementById('input-field');
const addButton = document.getElementById('add-button');
const achievementsList = document.getElementById('achievements-list');

addButton.addEventListener("click", function () {
    let inputValue = inputElement.value;
    push(achievementsRef, inputValue);
});
push() function from the URL above in your codeStep 7: Read Data from the Database
Now, let's delve into the next challenge. Are you ready for another brainstorming session? 🧠
Consider this scenario: After adding several entries to the database, you close the app. Later, when you reopen the application, how can we retrieve the data that was already in the database before you closed the app so we can display it in the UI?
So, how can we tackle this? Take a moment to ponder before reviewing the pseudocode below.
Hint: Firebase offers a function called onValue() that can be a valuable tool in addressing this challenge.
Hint #1
onValue(), which functions as an event listener. It triggers each time our app restarts or refreshes, and also whenever there's a change to our database. This function takes two arguments: the reference in our database and a callback function. Inside this callback function, we receive an object called a "snapshot."onValue(reference, function(snapshot) {
// code goes here
})
📸 A snapshot simply refers to a view of a location in your database at a particular point in time. To illustrate, consider wanting to count the number of children dancing in a room at a particular moment. This task could become quite challenging if the children were constantly moving around, much like the lively activity shown in the gif below.

What you can do if you have a camera is to take a shot of the children in the room so you can count them easily.
Likewise, a database may contain data that is so large and changes very often. A snapshot serves as a frozen moment in time, allowing you to work with the data exactly as it was when the snapshot was taken.
Hint #2
onValue() function is executed? To handle this situation, we can employ an if/else statement. If we don't handle this, our app may crash if no data exists at the time the onValue() runs.onValue(reference, function(snapshot) {
if () {
// do something if there is a snapshot
} else {
// do something if there is no snapshot
}
})
To determine if a snapshot exists, you can simply call the exists() method on the snapshot object. This method evaluates to true if a snapshot is present and false if no snapshot exists. Here's an example of how to use this method:
onValue(reference, function(snapshot) {
    if (snapshot.exists()) {
        // do something if there is a snapshot
    } else {
        // do something if there is no snapshot
    }
 })
Hint #3
val() method on the snapshot object. This expression returns another object that represents our actual data.So if this was the data that existed in our database
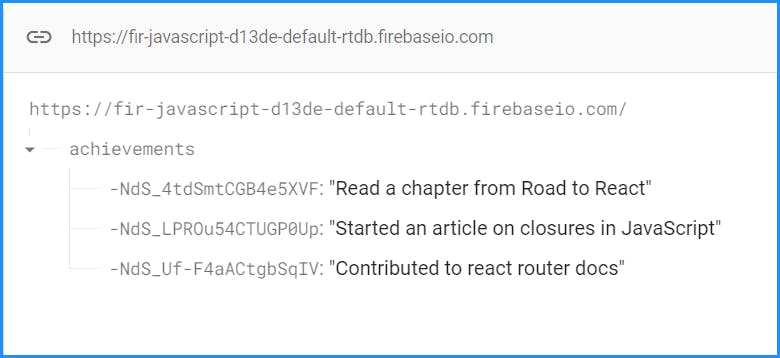
Then calling snapshot.val() would return an object like so:
{
    "-NdS_4tdSmtCGB4e5XVF": "Read a chapter from Road to React",
    "-NdS_LPROu54CTUGP0Up": "Started an article on closures in JavaScript",
    "-NdS_Uf-F4aACtgbSqIV": "Contributed to react router docs"
}
Because we only need to display the values in the object rather than the keys, JavaScript provides a method to extract values from an object and store them in an array.
If you didn't know about this, try Googling the solution yourself. Try typing: "how to extract the values from an object in javascript mdn".
MDN stands for Mozilla Web Docs and is like a massive library where you can find explanations of literally anything on web development.
Hint #4
Object.values() by passing in the object as an argument. This expression will produce an array containing the values of the object. With the values neatly arranged in an array, we can then efficiently loop over it and present the values as list items. Here's the implementation below:onValue() function from the URL above in your codeimport {initializeApp} from "https://www.gstatic.com/firebasejs/9.15.0/firebase-app.js"
import {getDatabase, ref, push, onValue} from "https://www.gstatic.com/firebasejs/9.15.0/firebase-database.js"
const appSettings = {
databaseURL: "YOUR_COPIED_URL_HERE" // Replace with your unique database URL
}
const app = initializeApp(appSettings)
const database = getDatabase(app)
const achievementsRef = ref(database, "achievements")
const inputFieldEl = document.getElementById('input-field');
const addButtonEl = document.getElementById('add-button');
const achievementsListEl = document.getElementById('achievements-list');
addButtonEl.addEventListener("click", function () {
let inputValue = inputFieldEl.value;
push(achievementsRef, inputValue);
inputFieldEl.value = null;
});
onValue(achievementsRef, function(snapshot) {
if (snapshot.exists()) {
let achievements = Object.values(snapshot.val())
achievementsListEl.innerHTML = ""
for (let i = 0; i < achievements.length; i++) {
achievementsListEl.innerHTML += `<li>${achievements[i]}</li>`
}
} else {
achievementsListEl.innerHTML = "No achievements yet"
}
})
Can you explain why this line of code was written before the for loop? Look through the code again and see what that line of code does.
achievementsListEl.innerHTML = ""
If you cracked it, great one!
But if you don't understand, the best way to understand it is to comment out that line of code, type another achievement in the input field, add the input with the "Add to list" button and see what happens in the UI.
The problem...
Remember that onValue() runs anytime our app refreshes or anytime there is a change to the database? And when that function runs each time, it fetches us with the data that is currently in our database. So when I comment out this line and add another input:
onValue(achievementsRef, function(snapshot) {
    if (snapshot.exists()) {
        let achievements = Object.values(snapshot.val())
        // achievementsListEl.innerHTML = ""
        for (let i = 0; i < achievements.length; i++) {
            achievementsListEl.innerHTML += `<li>${achievements[i]}</li>`
        }
    } else {
        achievementsListEl.innerHTML = "No achievements yet"
    }
 })
I get this in my UI:
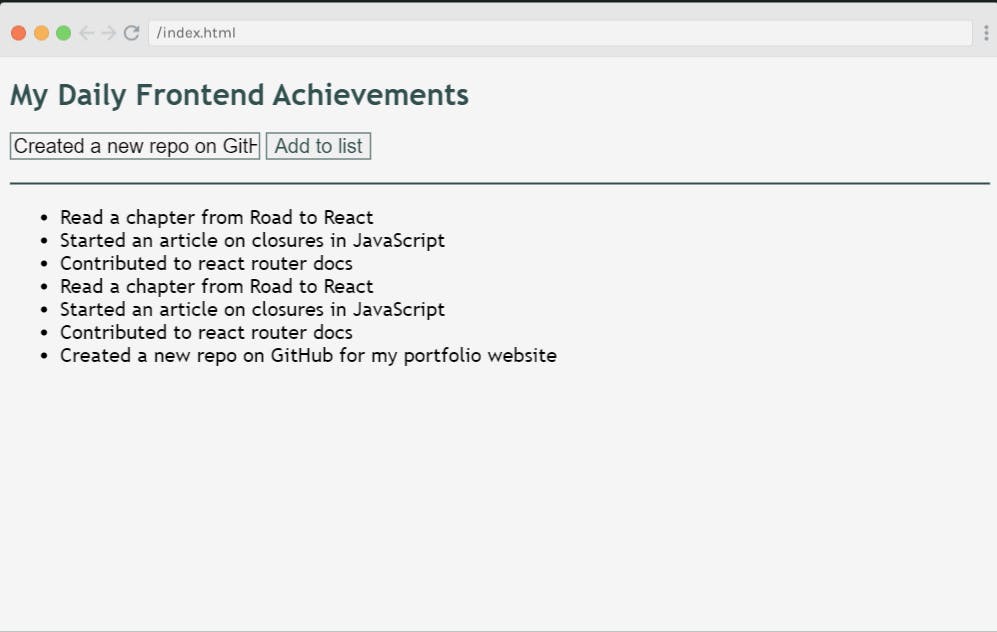
Notice what happens; the new list of achievements arrives when I refresh the page but the old list that was being displayed in my UI hasn't left. So my app doesn't know that it should clear the old data and render the new data that just came after the onValue() fires.
So the straightforward solution is to tell our app inside the onValue() function to clear any existing data in our UI before the new data is rendered. Once you add that line of code back, the app behaves like we want it to.
Here's the final code. Remember to change my database URL to your unique URL from Step 9.
Conclusion
Congratulations! You've embarked on a journey to harness the power of real-time databases with JavaScript and Firebase. By building a simple yet practical achievement tracker, you've learned essential concepts that form the foundation of many modern web applications.
Recap of What You've Achieved:
Setting Up Firebase: You've created a Firebase project, set up a real-time database, and configured it to store your achievements.
Initializing Firebase: You've initialized your JavaScript app with Firebase, creating a vital link between your code and the database.
Connecting to the Database: You've successfully connected your app to the real-time database, establishing a bridge for data exchange.
Pushing Data: You've implemented the ability to add achievements to your database in real-time, making your app dynamic and interactive.
Reading Data: You've learned how to retrieve data from the database, ensuring your app displays the most up-to-date information.
Throughout this journey, you've grasped essential Firebase functions like push and onValue and discovered how to handle data changes in real-time. These skills are not just valuable; they're fundamental for any web developer.
Remember, Firebase is a versatile tool, and what you've learned here is just the tip of the iceberg. You can use these skills to build chat applications, collaborative tools, live dashboards, and much more.
So, what's next? Continue to explore Firebase's extensive documentation and expand your knowledge. You can try figuring out how to add a delete feature to the achievement tracker. With your newfound skills, you're well-prepared to create dynamic, responsive, and data-driven web applications. Keep coding, keep experimenting, and most importantly, enjoy your development journey!
Happy coding! 🚀🔥
Exercises
Rewrite the code from scratch.
Implement a delete feature.
Deploy the application.